In Part 1, we made a simple catch game come alive: a player that moves, items that fall — and the joy of seeing it all come to life. Now it’s time to add meaning — some items will be good, others not so much. We'll track score, define what winning means, and gently prepare the game for real play. No pressure. Just one clear step at a time.
Ok, let's go. Start Unity and open the Catch Game project you created in Part 1. You can find your scene in the Assets window and double-click to load it. If you missed Part 1, you can go back and follow it here.
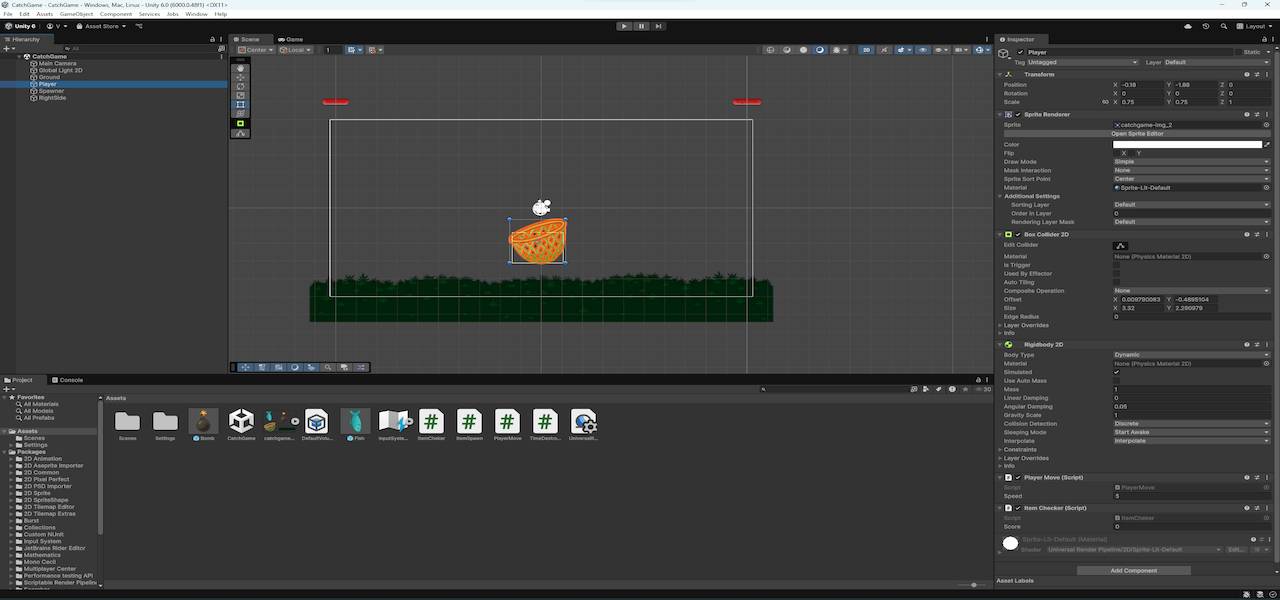
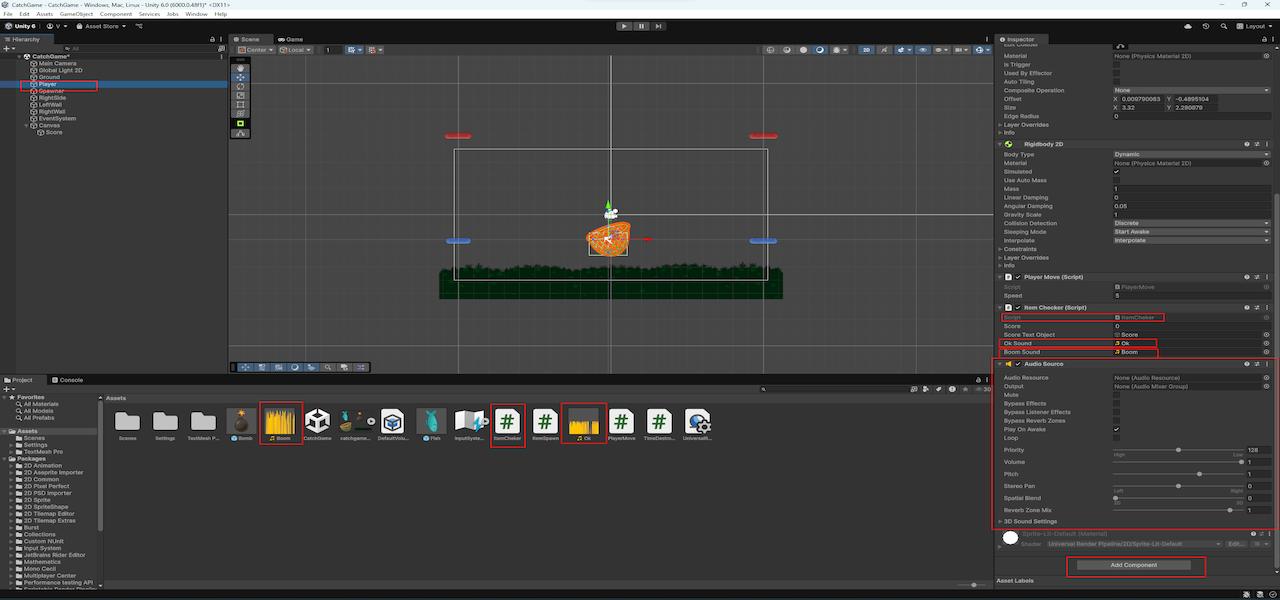
Once your scene is open, your Unity Editor should now look like this:
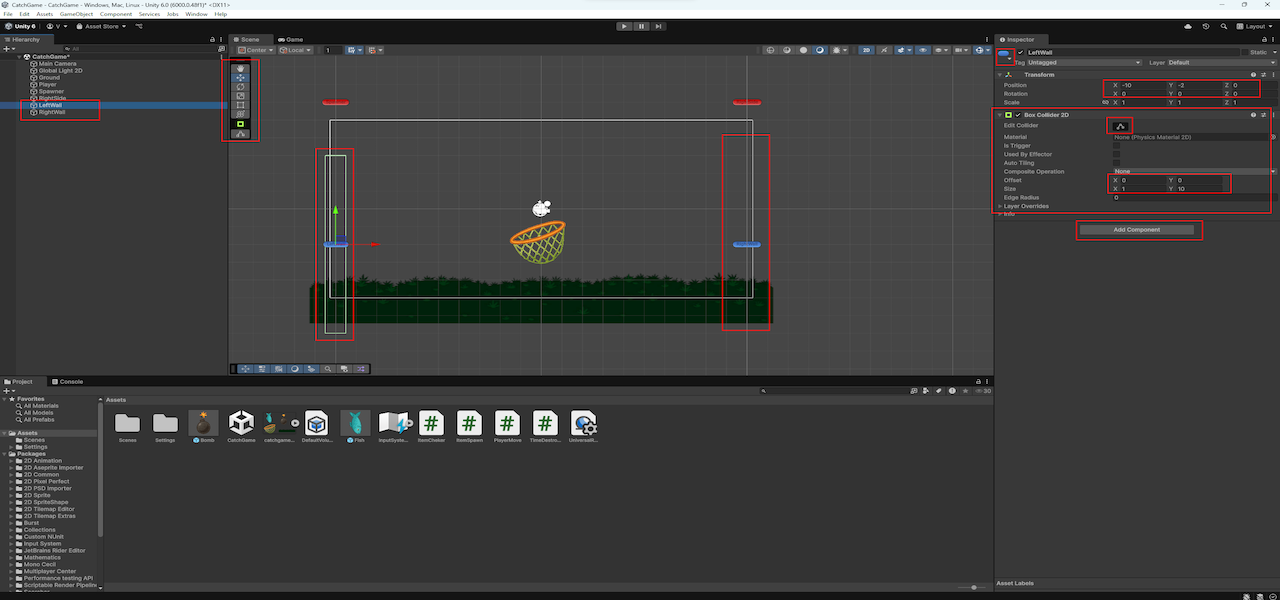
Our player can fall off the scene on the left or right. To stop this,
we’ll add invisible walls. Create a new empty GameObject — either via
GameObject → Create Empty or by right-clicking in the
Hierarchy window and choosing Create Empty.
Rename it to LeftWall.
With LeftWall selected, go to the
Inspector and click Add Component →
Physics 2D → Box Collider 2D. Then
click Edit Collider and adjust it in the scene view using the
green handles. Use the Move Tool to position the wall
on the left side of the scene. Make sure the Z position
is 0. You can assign a gizmo icon for better visibility
if you want.
To make the second wall, just duplicate the LeftWall:
right-click it in the Hierarchy and select
Duplicate. Rename the copy to RightWall and move
it to the right side. Now the player can’t fall out of bounds.
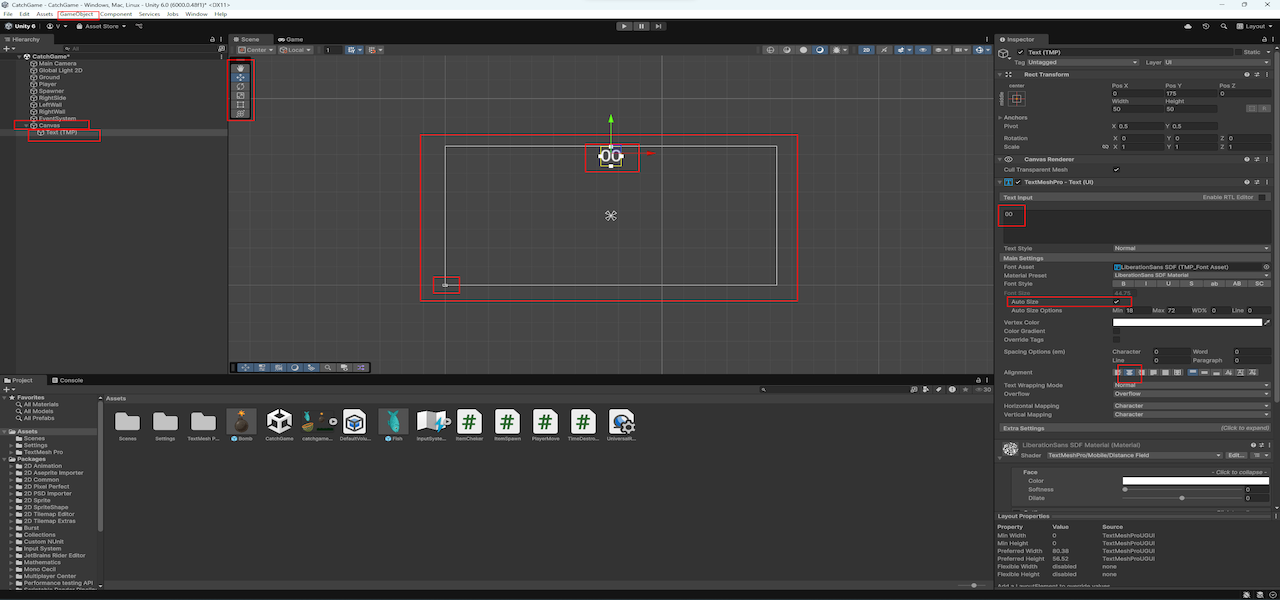
Let’s add a simple interface to show the score on screen. Go to
GameObject → UI → Text - TextMeshPro. Unity will
automatically create a Canvas, the
Text (TMP) object, and an EventSystem. If
it's your first time using TextMeshPro, Unity may ask to import TMP
Essentials — just click Import.
Double-click on Canvas in the
Hierarchy to focus the UI view — you’ll see a white
rectangle that represents the screen. Select Canvas and
in the Inspector, change
UI Scale Mode to
Scale with Screen Size so the UI adjusts correctly.
Rename the text object to Score. In the
Inspector, set its text to 00. Enable
Auto Size and set the Alignment to
center both horizontally and vertically. Then use the
Rect Tool to move and resize the text box — place it
near the top of the screen.
💡 Tip: TextMeshPro UI elements don’t move like sprites — you're moving their container. Use the Rect Tool (T) to move and resize the text box.
💡 Tip: The TextMeshPro Inspector has many settings. You only need to change a few — we’ll keep it simple and clean.
Let’s go back to the main game view. You can double-click the Main Camera in the Hierarchy to focus it, or switch to the Game tab to see the full game view.
Now we’ll make the score text update during gameplay. Open the
ItemChecker script (double-click it in the
Assets window). To work with the TextMeshPro UI
system, add this line at the top:
using TMPro;
We'll create a reference to the Score object and access
its text component, then update the display each time the score
changes. Here’s the full version of the updated script:
using UnityEngine;
using TMPro;

public class ItemChecker : MonoBehaviour
{
    // Keeps track of the current score value
    public int score;

    // Drag the Score text GameObject here in the Inspector
    public GameObject scoreTextObject;

    // Internal reference to the TMP text component
    private TMP_Text tmpText;

    void Start()
    {
        // Get the TextMeshProUGUI component from the Score GameObject
        tmpText = scoreTextObject.GetComponent<TMP_Text>();
    }

    // Called when something with a Collider2D enters the trigger
    void OnTriggerEnter2D(Collider2D other)
    {
        // If the object is tagged "Good", increase score
        if (other.gameObject.tag == "Good")
        {
            score += 10;
            Destroy(other.gameObject);
        }

        // If the object is tagged "Bad", decrease score
        if (other.gameObject.tag == "Bad")
        {
            score -= 10;
            Destroy(other.gameObject);
        }

        // Update the score display on screen
        tmpText.text = score.ToString();
    }
}
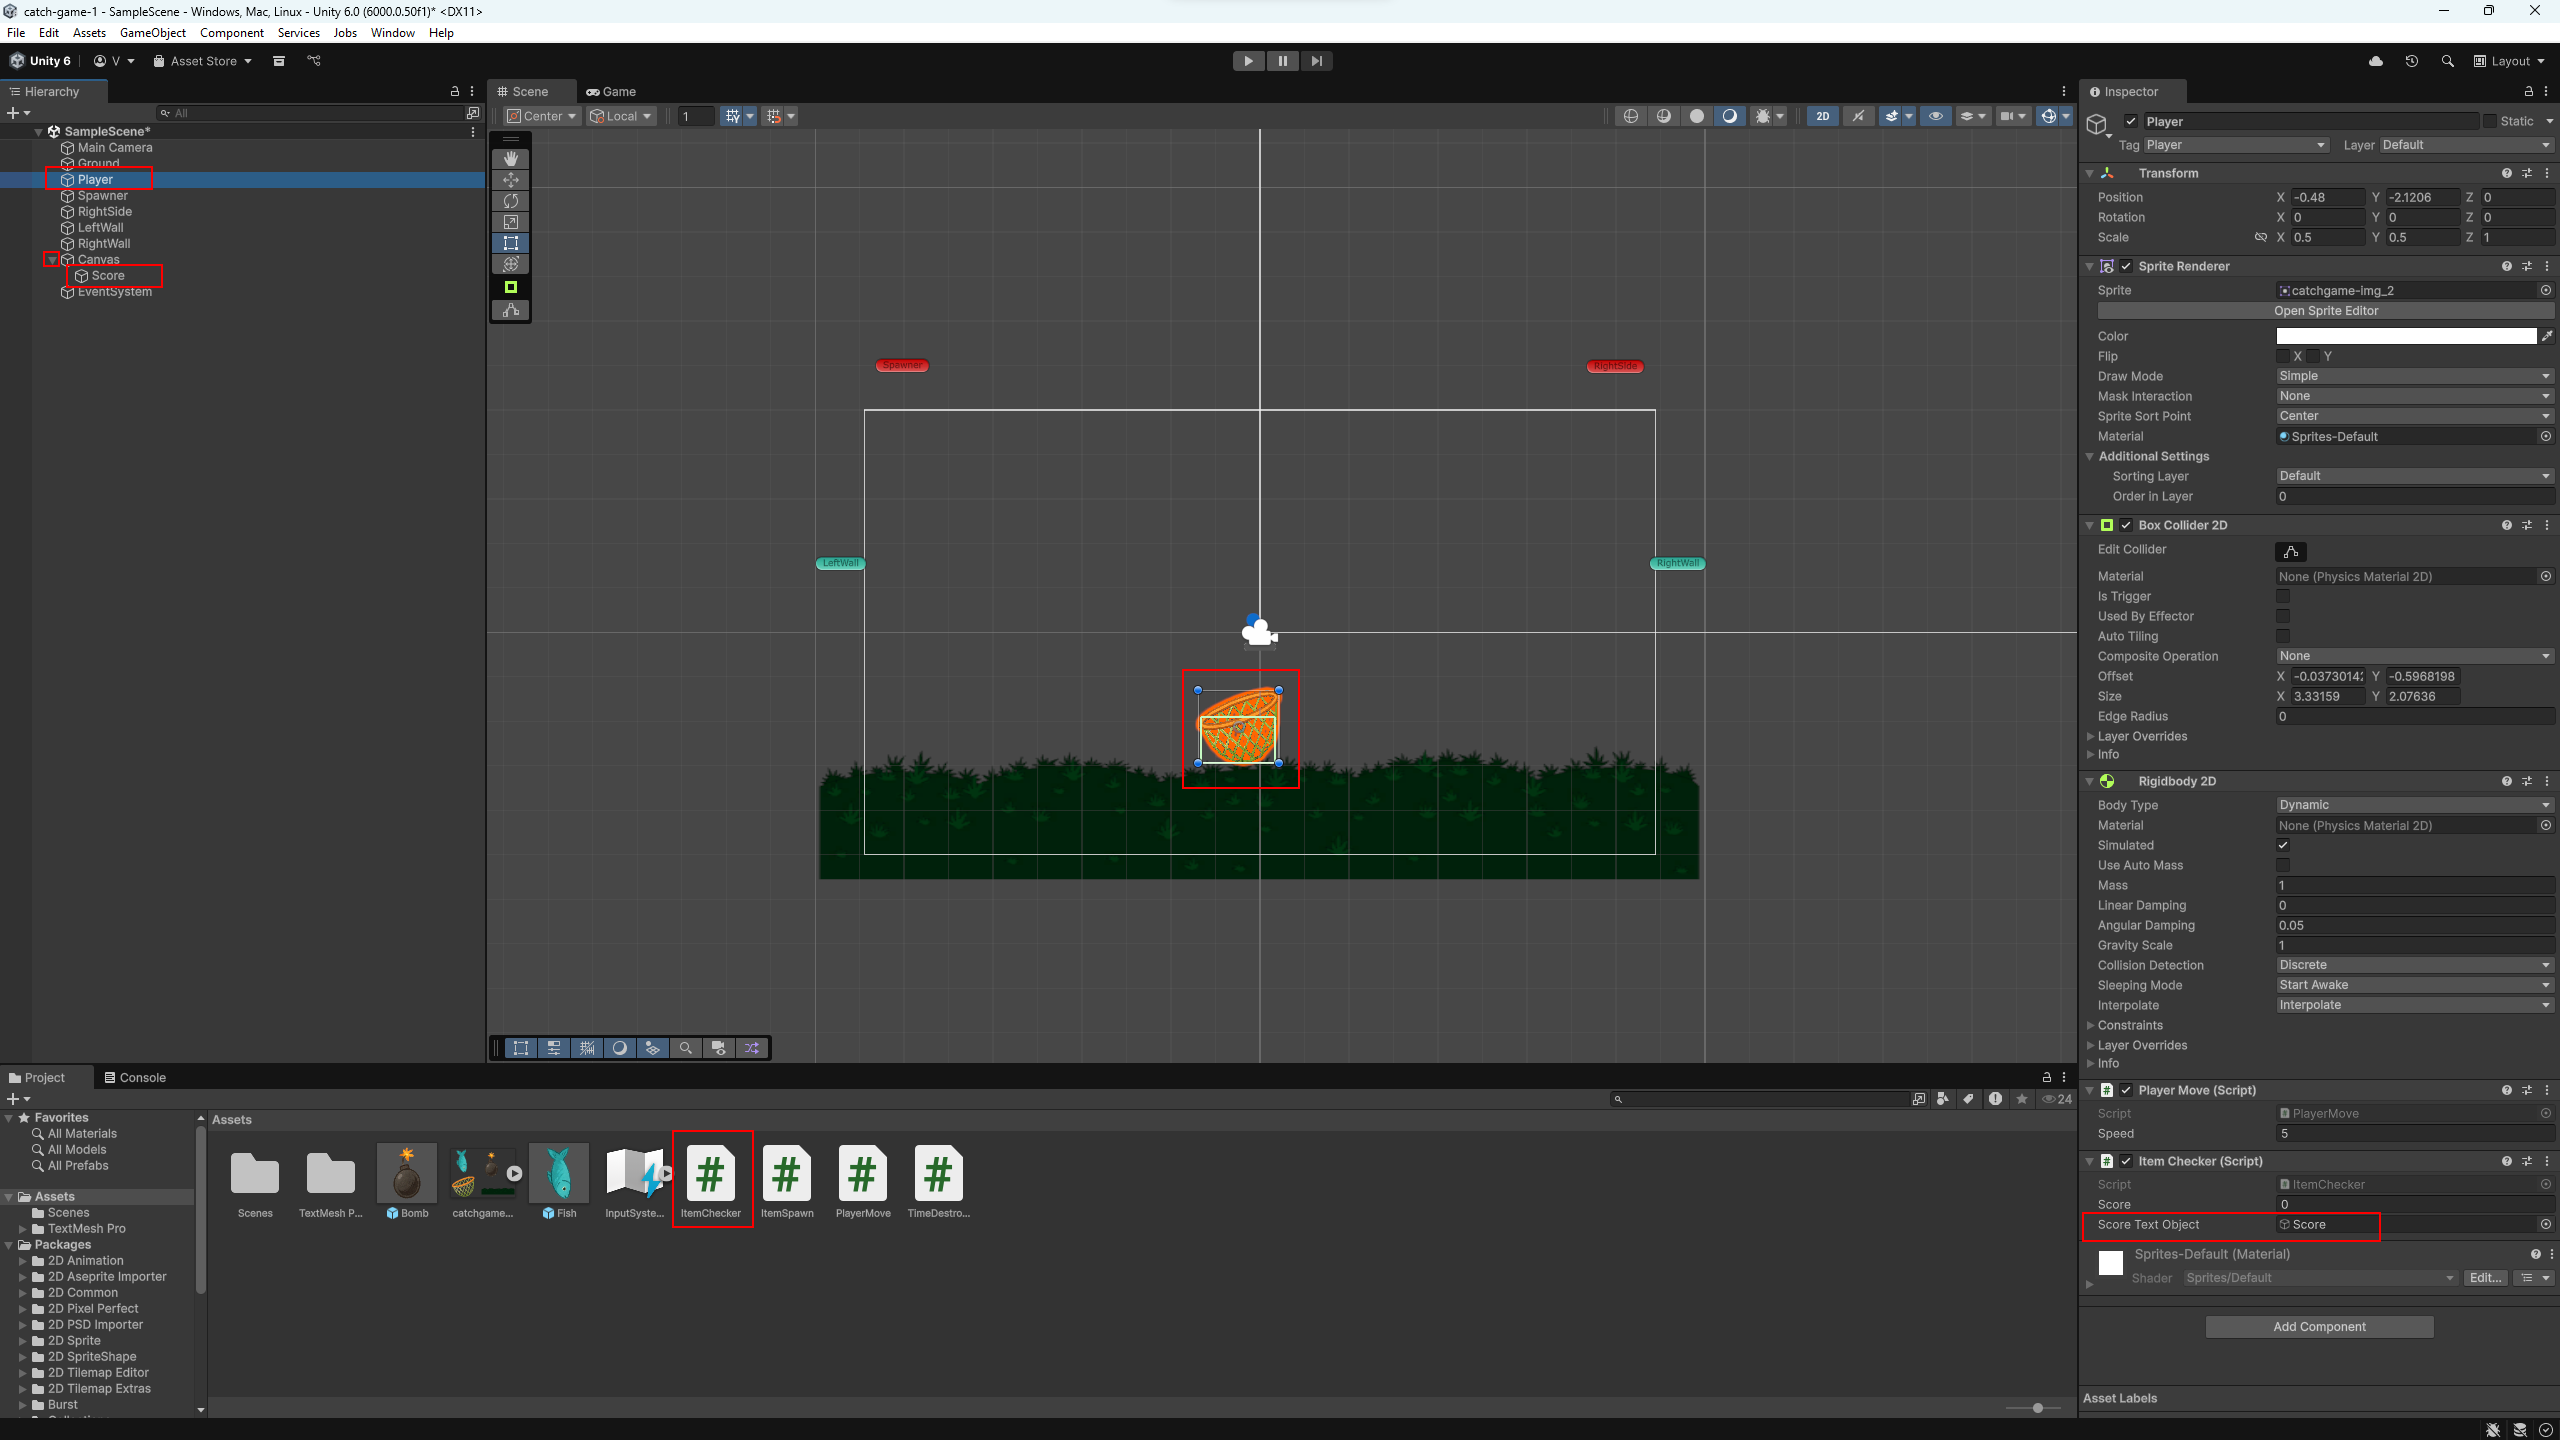
Don’t forget to drag your Score UI object into the
Score Text Object field in the
ItemChecker script component on your player.
Let’s bring our game to life with sound by adding sound effects for
catching items. We’ll use a simple method: add an
AudioSource to the player, then play sounds directly from
our script.
First, select your player in the Hierarchy and click Add Component. Choose AudioSource. Leave all settings as default — we’ll use it for short sound effects only.
Then open your ItemChecker script and update it like
this:
public AudioClip okSound;
public AudioClip boomSound;
private AudioSource audioSource;

void Start() {
    audioSource = GetComponent<AudioSource>();
}

void OnTriggerEnter2D(Collider2D other) {
    // ... scoring logic ...

    // Play sounds based on tag
    if (other.tag == "Good") {
        audioSource.PlayOneShot(okSound);
    } else if (other.tag == "Bad") {
        audioSource.PlayOneShot(boomSound);
    }
}
You can download the sound effects used in this tutorial here:
Save them to your Assets/Sounds folder, and assign them
in the Inspector.
Drag and drop the Ok and Boom audio files
from the Assets folder into the matching fields in
the ItemChecker component.
💡 Tip: You can adjust volume directly in the AudioSource component if sounds are too loud or quiet.
There’s no real Step 10 — not because there’s nothing left to do, but because this is a good place to pause. There are many ways to expand this game: you could add side triggers so the player only catches objects from above, or even change the tags of objects dynamically.
But the goal here wasn’t to make something big. It was to show something clear. If you're new to Unity — start easy. Build one thing that works. Later, you can always do more.
And who knows — maybe this little catch game will grow into something else. Change the falling objects into cars, replace the background with a road… and suddenly, it’s a driving game. 😉
That’s it for Part 2 — nice work! 🎉